


.avif)
LED displays are perfectly capable of using OptiSigns digital signage software to display dynamic, customizable images and videos.
Setting them up, however, is a bit different than other screens. Normally, attaching a device capable of displaying OptiSigns paired with the content you want to show will display it automatically. However, with LED displays, there are a few other considerations.
To properly display content on an LED display, you’ll need to follow a few broad steps:
- Obtain the native resolution of the LED display
- Create assets specifically for that resolution
- Placing those assets into Split Screens mapped to the number of pixels on your display
- Sending the properly configured Split Screen assets to an OptiSigns-capable device connected to your LED display, such as an OptiSigns Android Stick
What You’ll Need
- An OptiSigns subscription (or free trial)
- An LED Display
- The number of pixels listed on your display. This is not strictly needed, but will save you a lot of time.
- A computer to test the LED display’s resolution
- A device capable of running OptiSigns
How to Determine an LED Display’s Native Resolution
Start by connecting your LED display to a computer, or media player. The goal here is to determine the native resolution of the display, which may be different than what our (OptiSigns) system detects.
How to find it will depend on what device you use. However, it can usually be found in the Displays or Display Settings menu on most computers:
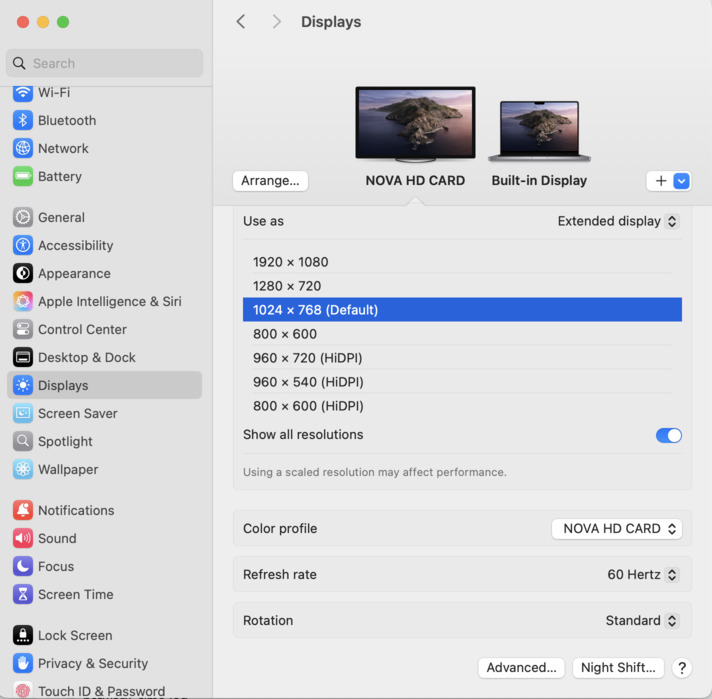
Once you’ve determined the proper display resolution, be sure that all the content you wish to display on your LED display is of this resolution. Write this number down, as you will need it for the next step.
Creating an OptiSigns Asset for the LED Display
Your assets can be created anywhere, whether in the OptiSigns Designer app or elsewhere. Make sure you’ve created something which matches the display resolution.
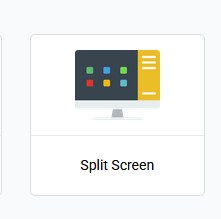
Once you have an asset created, it’s time to create a Split Screen. To do this, find the Split Screen app inside OptiSigns:
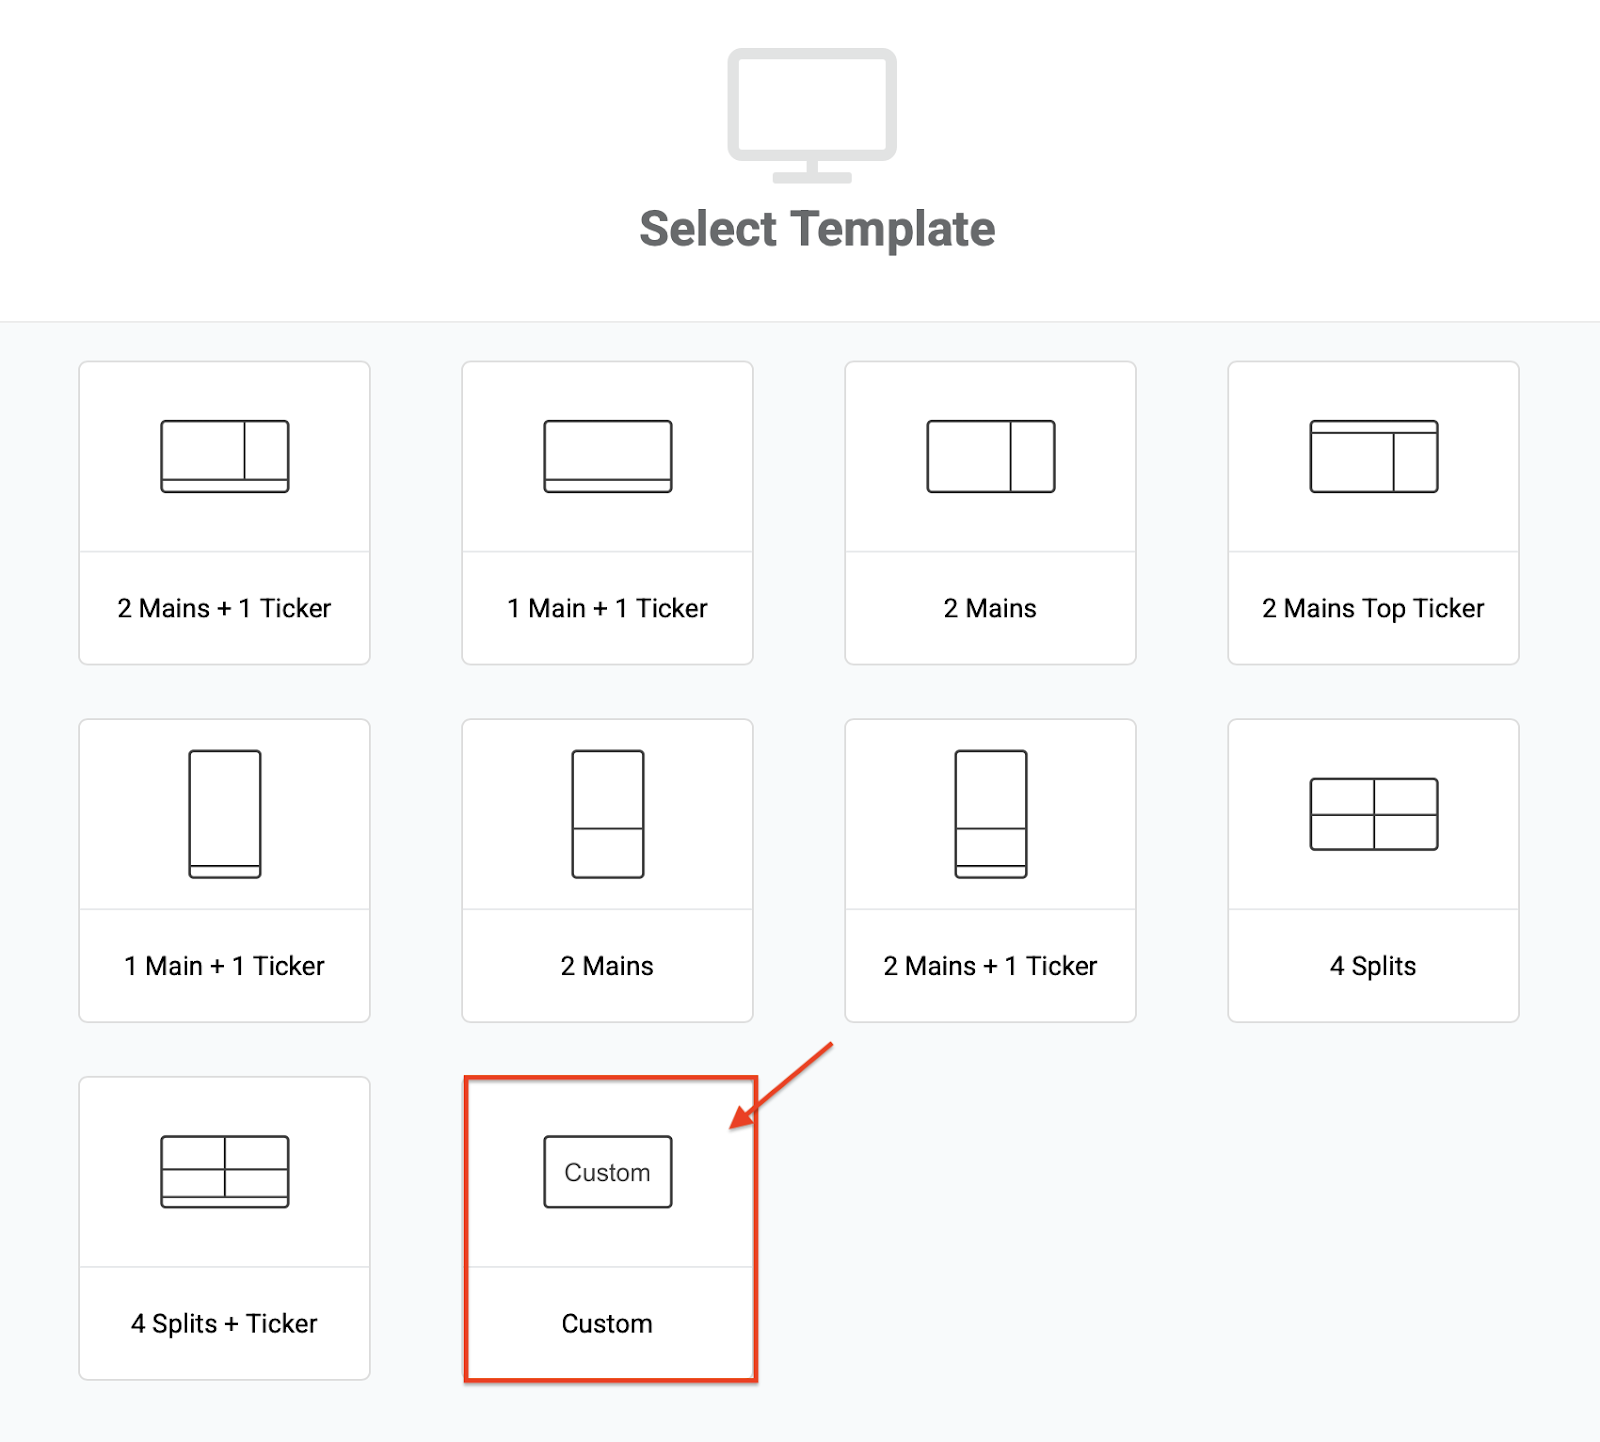
On the Select Template tab, select Custom:
Our goal here is to match the image resolution to the number of pixels on the display. Hopefully, the number of pixels on your LED display will be something you have access to, else a bit of trial and error is needed.
To begin this part of the setup, navigate to Settings.
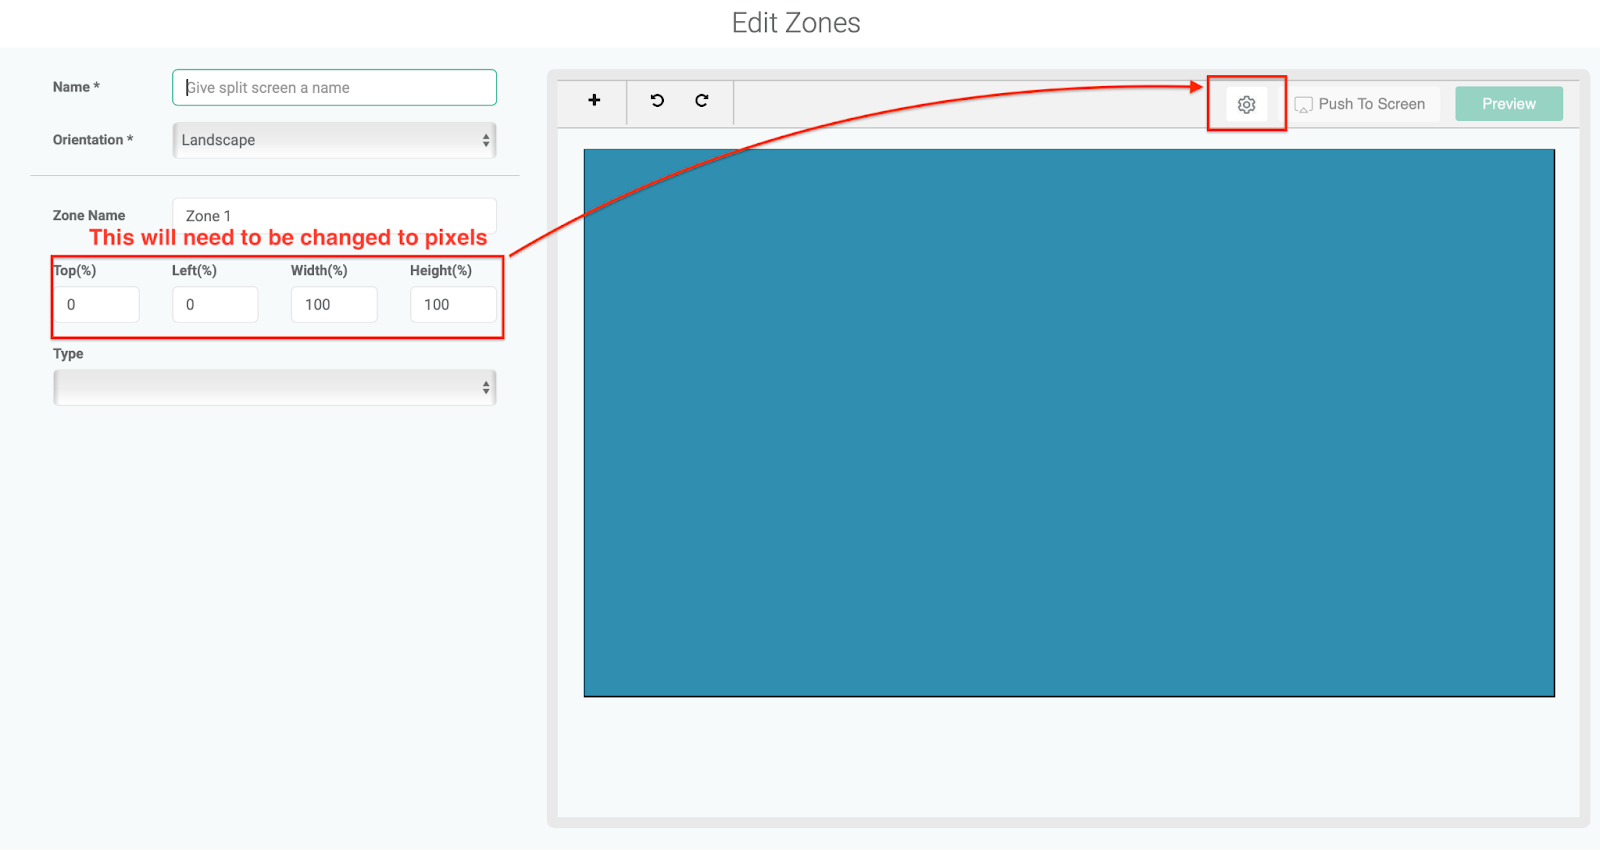
On the Split Screen Configs tab, first verify your resolution matches that of the display. Then, click the Unit Type option:
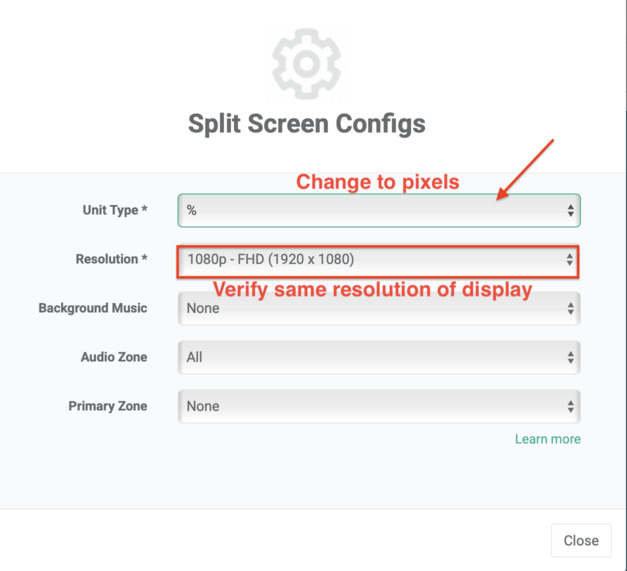
Change the Unit Type to Pixels:
This will change the Zone information to pixels.

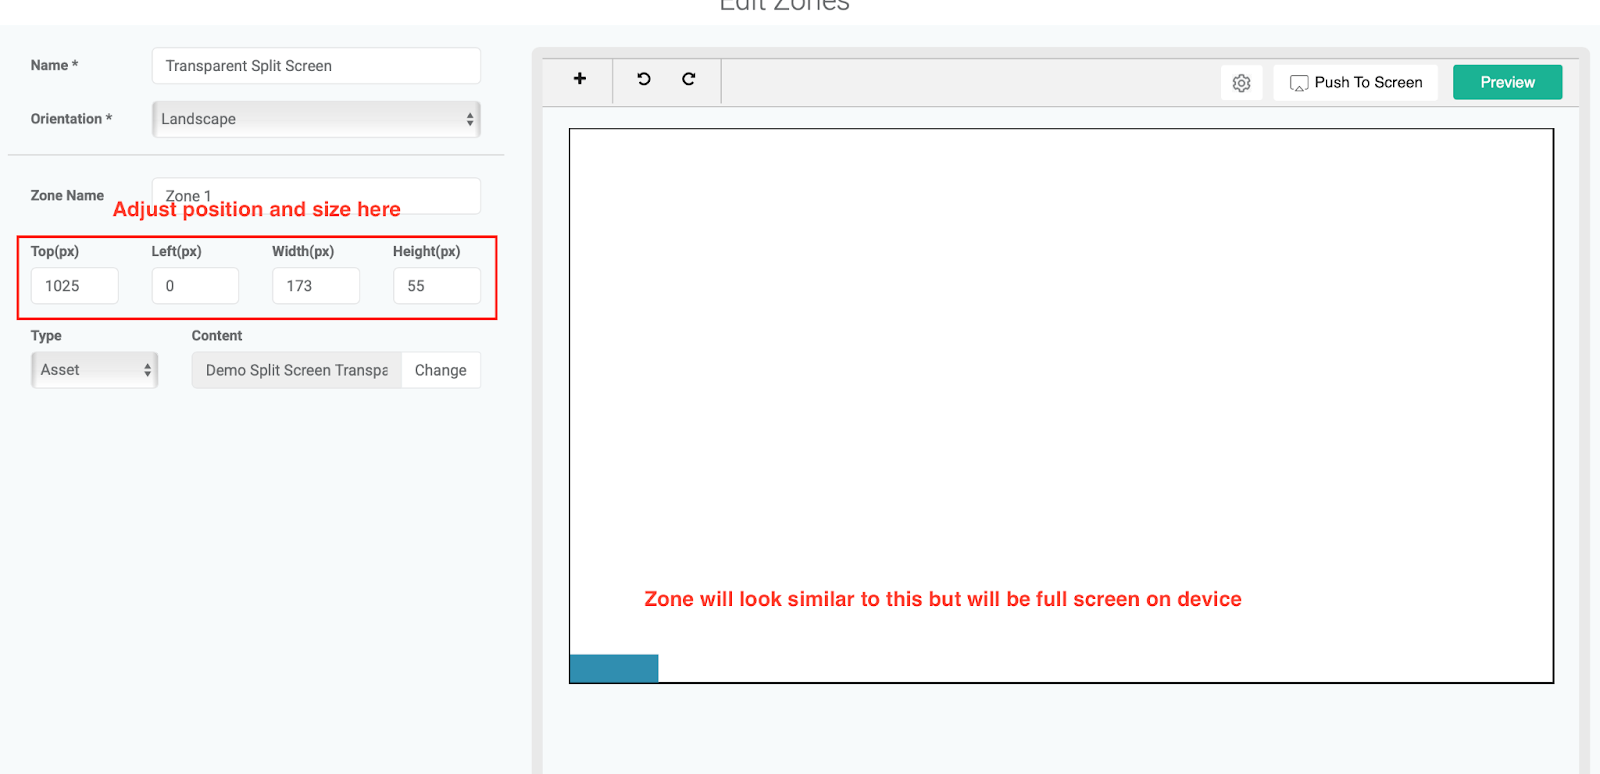
Now, we need to add the asset to this Zone. Once that’s done, we’ll be using these fields to adjust the asset’s position to fill the LED display.
For example, let’s say your LED display has 150x200 pixels. We’d adjust the Width and Height values to match those, then position the zone in the bottom left corner:
Next, push this to your screen to see if it fills it up. This is also how you’d make iterative adjustments to a display you’re not sure of the pixel size of. Once you find the correct pixel size, write this number down. Knowing it plus the device resolution will make creating assets for it a snap in the future.
Once you’ve managed to tweak it just right, Save the asset. Now it can be assigned to your screen, added to a Playlist, or anything you like.
Try OptiSigns for Free!
Looking to add digital signage to your business, but not sure we can handle everything you need? No problem. We offer a free, 14-day trial and full access to our litany of features for the duration.
Have questions? Concerns? Comments? Ideas for a new feature? Let us know at support@optisigns.com.

